Crowd creating a board game
May 26, 2020
My girlfriend graduated from her thesis last year 🚀😍. With the help of many of her colleagues, we made her as PhD gift a custom board game, referencing at the good and challenging times of the thesis. There are some interesting bits here and there on its creation process that I wanted to share.
Creating cards…together
The idea of this board game was simple. It is a turn by turn dice game where each player advances on a 65-squares path symbolizing the tortuous journey of a thesis. It is very similar to the squares and ladders game (or Goose game, “Jeu de l’oie” in French).
ℹ️ The name of the game is ZnS quest since the subject of the thesis was on the stability of nano-size zinc sulfide particles in organic matter.
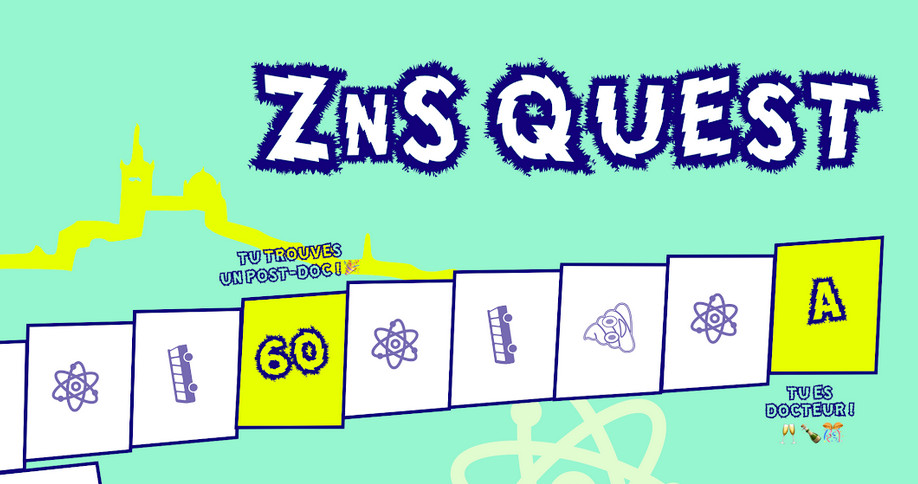
After advancing, each players draws a card randomly from a deck. Each card has a picture, a description and a type. The type can be
- bonus/malus: making the player go forward/backward by some squares on the board
- challenge: you have to do something, eg: tell a joke, and then you can go forward
- friend: protects you against future maluses.
When starting with this idea, I was confident that to be successful, this game should have a lot of different cards otherwise it would soon be boring. Moreover, I wanted that each colleague could participate easily in the creation process. If anyone could create a card, we would have more cards. How to make this card creation process fast and easy for anyone ? I thought of using a Dropbox shared folder as a collaborative platform to generate cards.
I tried to simplify the creation process as much as possible : A folder was shared with all the colleagues. This folder had 1 file describing all the cards and a folder containing all the pictures.
- People would edit the file thanks to the “Microsoft Word for web”
- The file was automatically synced to my computer
- I could run a script every couple of hours to generate the cards as PNG images.
- Each card was rendered inside the same synced shared folder so that everyone could see the cards they had created
Here is an excerpt from the file describing cards. Each line is in <number>. <type> | <title> | <description> format.
18. Bonus | Gâteau de PY | PY t'as fait un gâteau trop bon. 🎲 Si tu fais un 6, tu n'arrives plus à bouger après la première part. Sinon avance d'1 case !
300. Malus | Minion time | Tu te transformes en Minion pendant 1 week-end, recule d'1 page !
301. Bonus | On est finale | L'OM est en finale de la coupe d'Europe, c'est le oaï dans la rue ! Avance d'1 page
Each photo in the picture folder is linked to the right line through the <number>
part.
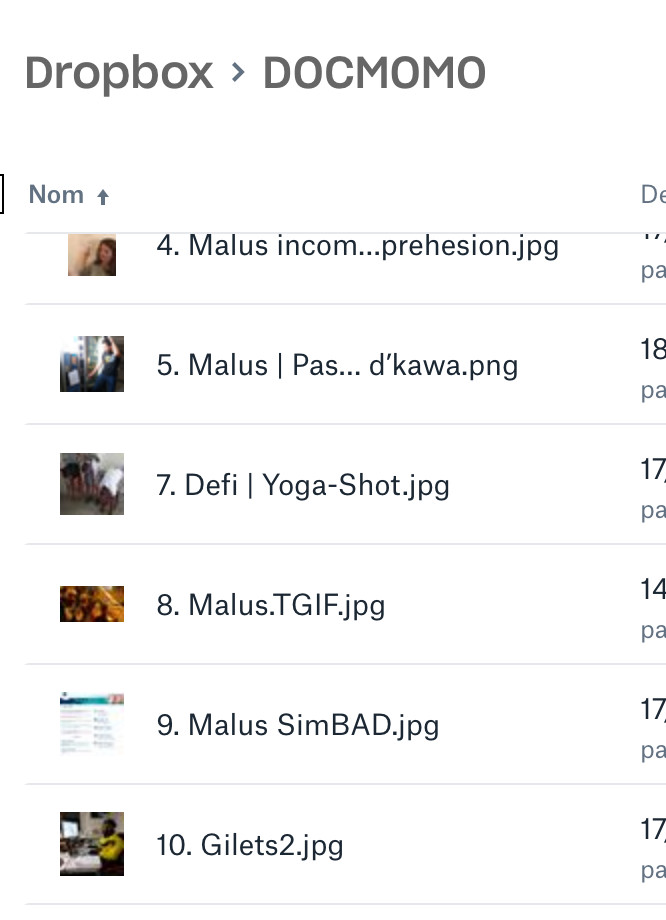
List of pictures
The feedback loop was relatively short and people quickly bought in and added cards. At the end, more than 250 cards were created collaboratively 🚀.
Generating the cards
Here are some technical details on how the cards were generated.
Text → SVG
To create the cards from the data, I used SVG templating.
With the help of Handlebars (a Javascript templating engin), each card was rendered as SVG data. I first created the card layout in Sketch for WYSIWYG convenience. Then I exported the Artboard as an SVG. Finally, I replaced parts of the SVG with placeholders in place of title, description, type, and picture.
Below, you can see an excerpt of the cards' SVG template. Handlebars placeholders are inside curly braces.
<!-- TITLE -->
<rect x="20" y="320" width="284" height="45"></rect>
<text id='title{{ i }}' fill="{{ fontColor }}" font-family="MadScience" font-size="28" font-weight="normal">
    <tspan x="50.0940004" y="330">{{ title }} </tspan>
</text>

<!-- DESCRIPTION -->
<rect x="40" y="360" width="250" height="143"></rect>
<text id='description{{ i }}' fill="{{ fontColor }}" font-family="DINPro-Regular, DINPro" font-size="20" font-weight="normal">
    <tspan x="137.000014" y="452">{{{ description }}}</tspan>
</text>
At this point I could batch create all the SVG describing the cards. But it was still text, and I needed pixels ready to print !
SVG → PNG
I tried various SVG renderers and encountered various rendering glitches
(badly rendered fonts, blurring not supported) with non browser based SVG
renderers. I finally settled on using Firefox as a rendering engine and
used its screenshot feature to screenshot pages containing SVGs.
The screenshot “command” can be called from the console and the resolution
of the screenshot can be controlled through the --dpr flag. Having
a high resolution was very important for the finaly quality of the
prints.
:screenshot --fullpage --dpr 2
Dynamically sized text
One problem I encountered was that some title and descriptions were longer than others and could not fit in the area I had envisionned for them. It was needed to reduce the font dynamically so that it could fit.
Fortunately, all the hard work of sizing the font, decreasing it until it fits a given rectangle, while taking care of wrapping, had been done in d3plus-text so I had only to include the library and call its methods to have my title and description automatically fitted.
Having the ability to execute Javascript to do dynamic font-sizing was also one of the reason behind choosing a browser as the SVG renderer.
Automating the rendering of the the cards proved important since it was possible to change the design of the cards late in the process, based on designs made by a graphic designer friend. If this had not been scripted, this would have meant changing all the 269 cards 😱.

Some of the cards (one of them has yet to have a good picture)
The board
For the board, I used Sketch (a vector editor). Its scripting abilities and Symbol made my life a little easier.
ℹ️ Symbols are ways to reuse graphical elements in Sketch. You can also set Overrides in the reused parts to reuse while replacing some part of the reused content.
Setting Symbol overrides
Each square had a little icon inside. I used Sketch scripting ability and its Override feature to automatically set the right icon for each square based on its index.
if (i % 2 == 1) {
  square.overrides.icon = 'atom'
} else if (i % 2 == 2) {
   square.overrides.icon = 'microscope'
}
Arranging the squares along a path
There were several ideas for the path drawn by the squares. The number of total squares was also not fixed at first. To be able to quickly react to new suggestions and changes, I used the scripting feature of Sketch to automatically arrange the squares along a path.
To do that, I’d draw a path in Sketch, export it to SVG, load it in Firefox
and use the getPointAtLength API to generate positions for the squares. Then
I copy/pasted those positions back to sketch, and use a script to layout
the squares according to those positions.
This allowed me to be able to change the square size, number, and path even at the end of the project. This proved important to be able to incorporate suggestions from other people : using the script features in Sketch made decisions reversible. This was good for rapid iterations.
Conclusion
I was really proud to have produced a real physical object. I normally deal with software projects that get maintained and changed for a long time (hence the “soft” in software). Physical projects are interesting in the sense that you cannot change them once shipped : once printed, you will not be able to go back and change the cards. This is a big constraint but it is also quite liberating since hacks and dirty tricks are much less of a problem.
More importantly, I was really glad to have found a method so that anyone interested could participate. It resulted in a lot of good memories in the form of cards. Thanks to Julie, Eleonore, Valenti, Ricardo, Juliette, Sue, Aladin and everybody who has participated in this project.
Some of the code to generate cards can be found here.